

Now that we have all the supporting material lets create a short PowerShell script that creates the VM with:
- User specified hardware settings
- Correct boot environment
- Additional CD ROM for answer files
- Mounts the ISOs
- Starts the VM
- Launches VMware Remote Console (so that we can watch our baby grow! )
PowerShell Script
Function newAutoDeployedVM
{
    Param(
    [Parameter(mandatory=$true)]
    [String]$target,
    [Parameter(mandatory=$true)]
    [Array]$domainDetails,
    [Parameter(mandatory=$true)]
    [String]$environmentType,
    [Parameter(mandatory=$true)]
    [Array]$sharedDetails,
    [Parameter(mandatory=$true)]
    [String]$machinetype,
    [Parameter(mandatory=$true)]
    [String]$CPU,
    [Parameter(mandatory=$true)]
    [String]$memory,
    [Parameter(mandatory=$true)]
    [String]$disk
    )

    #Set Variables to use from inputs
    $Global:primaryEsxiUsername = $sharedDetails.hostCredentials.esxiUsername
    $Global:primaryEsxiPassword = $sharedDetails.hostCredentials.esxiPassword
    $Global:primaryEsxiDatastore = $domainDetails.nfs.DatastoreName
    $Global:primaryEsxiHost = $domainDetails.hosts[0].mgmtIp
    $Global:PrimaryEsxiNetwork = $domainDetails.network.vmPortgroupName
    connectHost $domainDetails.hosts[0] $sharedDetails
    LogMessage "Creating $($domainDetails.templates.$machinetype.machinename) on $primaryEsxiHost"

    #Create VM with variables passed for VM Spec
    New-VM -Name $vmName -Datastore $primaryEsxiDatastore -NumCPU $CPU -MemoryGB $memory -DiskGB $disk -NetworkName $PrimaryEsxiNetwork -Floppy -CD -DiskStorageFormat Thin -GuestID windows9Server64Guest

    #Change NIC to VMXNET3
    LogMessage "Setting Network Adapter to VMXNET3"
    Get-VM -name $vmName | Get-NetworkAdapter | Set-NetworkAdapter -Type Vmxnet3 -confirm:$false  | Out-File $logFile -encoding ASCII -append

    #Set first CD-ROM to combined binaries ISO on specifed datastore
    $customIsoPath = '['+$primaryEsxiDatastore+"] \ISOs\combined-windows-sql-custom-installer.iso"
    LogMessage "Mounting $customIsoPath to CD 1"
    $cd = Get-VM -name $vmName | Get-CDDrive
    Set-CDDrive -cd $cd -IsoPath $customIsoPath -StartConnected:$true -confirm:$false | Out-File $logFile -encoding ASCII -append

    #Add second CD-ROM. Set to relevant answerfiles ISO on specifed datastore
    $configIsoPath = '['+$primaryEsxiDatastore+"] \ISOs\$environment-$($domainDetails.templates.$machinetype.machinename)-answerfiles.iso"
    LogMessage "Mounting $configIsoPath to CD 2"
    $vm = Get-VM $vmName
    New-CDDrive -vm $vm -ISOPath $configIsoPath -StartConnected:$true | Out-File $logFile -encoding ASCII -append

    #Set correct boot firmware type
    LogMessage "Reconfiguring Boot Firmware Type to EFI"
    $spec = New-Object VMware.Vim.VirtualMachineConfigSpec
    $spec.Firmware = [VMware.Vim.GuestOsDescriptorFirmwareType]::efi
    $vm.ExtensionData.ReconfigVM($spec)

    # Start VM
    LogMessage "Starting $($domainDetails.templates.$machinetype.machinename). Please monitor VM Console for completion"
    $vm | start-vm | Out-File $logFile -encoding ASCII -append #| Out-Null

    #Opening Console of new VM
    LogMessage "Opening Console of $($domainDetails.templates.$machinetype.machinename) if VMRC is installed"
    $ServiceInstance = Get-View -Id ServiceInstance
    $SessionManager = Get-View -Id $ServiceInstance.Content.SessionManager
    $vmrcURI = "vmrc://clone:" + ($SessionManager.AcquireCloneTicket()) + "@" + $global:DefaultVIServer.Name + "/?moid=" + $vm.ExtensionData.MoRef.Value
    Start-Process -FilePath $vmrcURI
    Disconnect-viserver * -confirm:$false
}
Ok. Thats all you need to get your first VM done. I’ll add more posts in the next week or two with the specifics for automating the other types of VMs I promised.
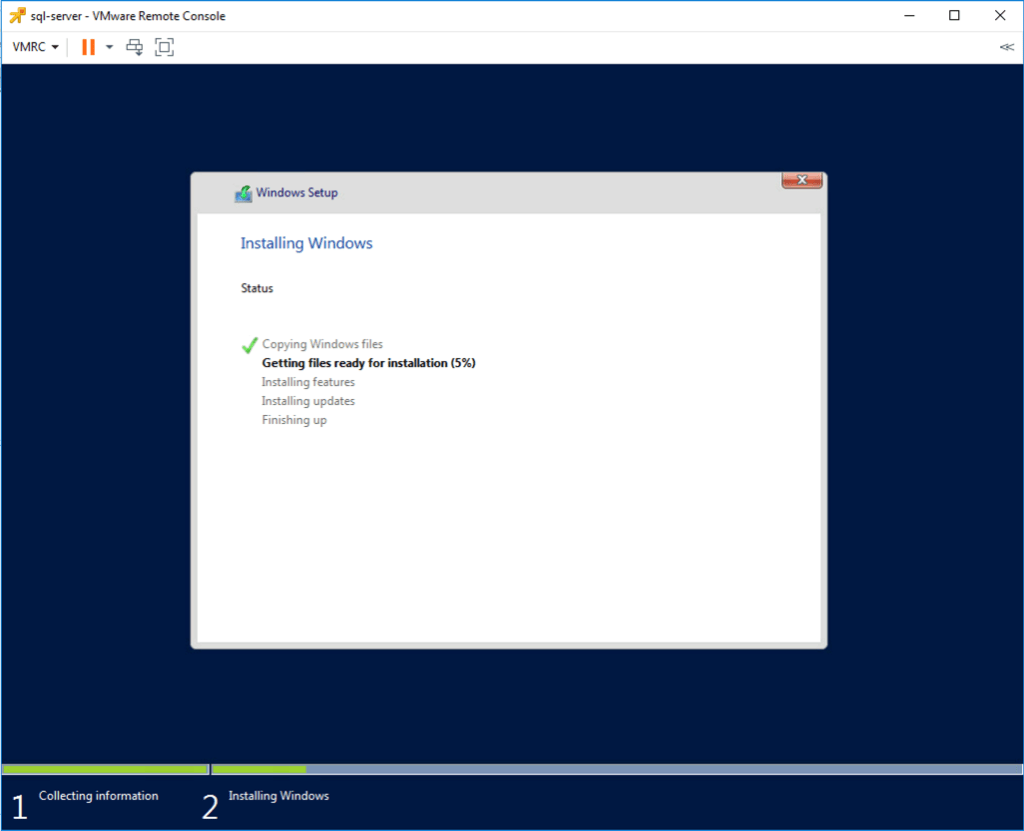
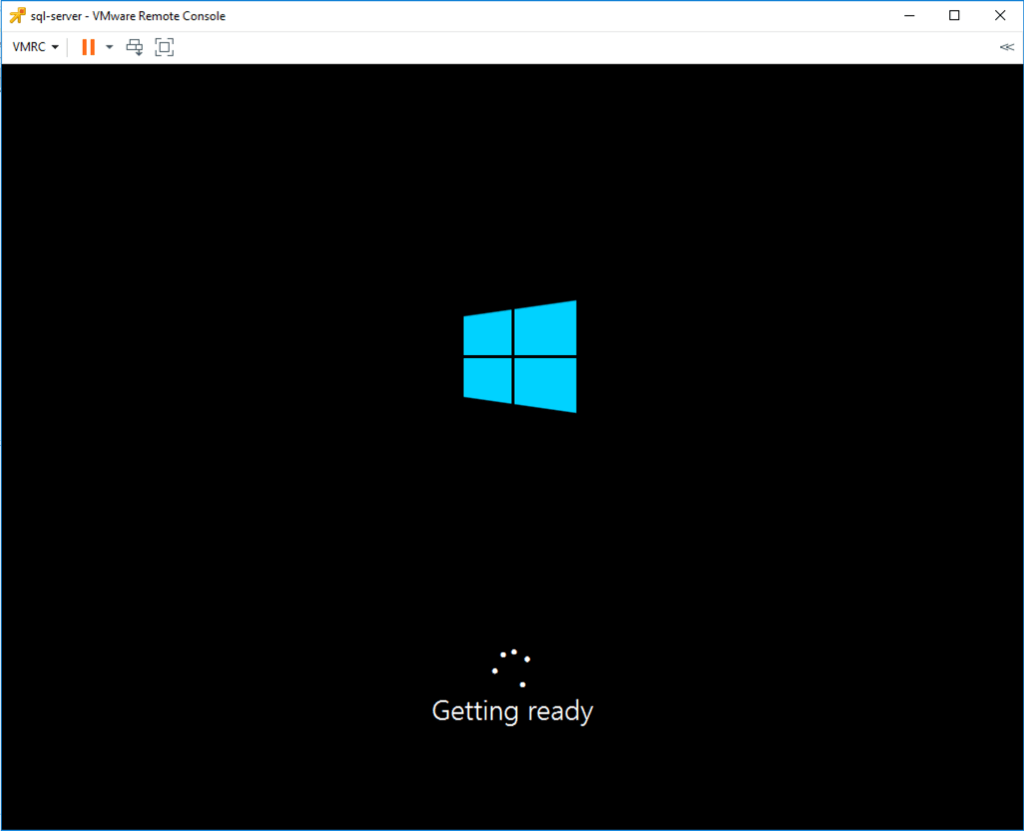
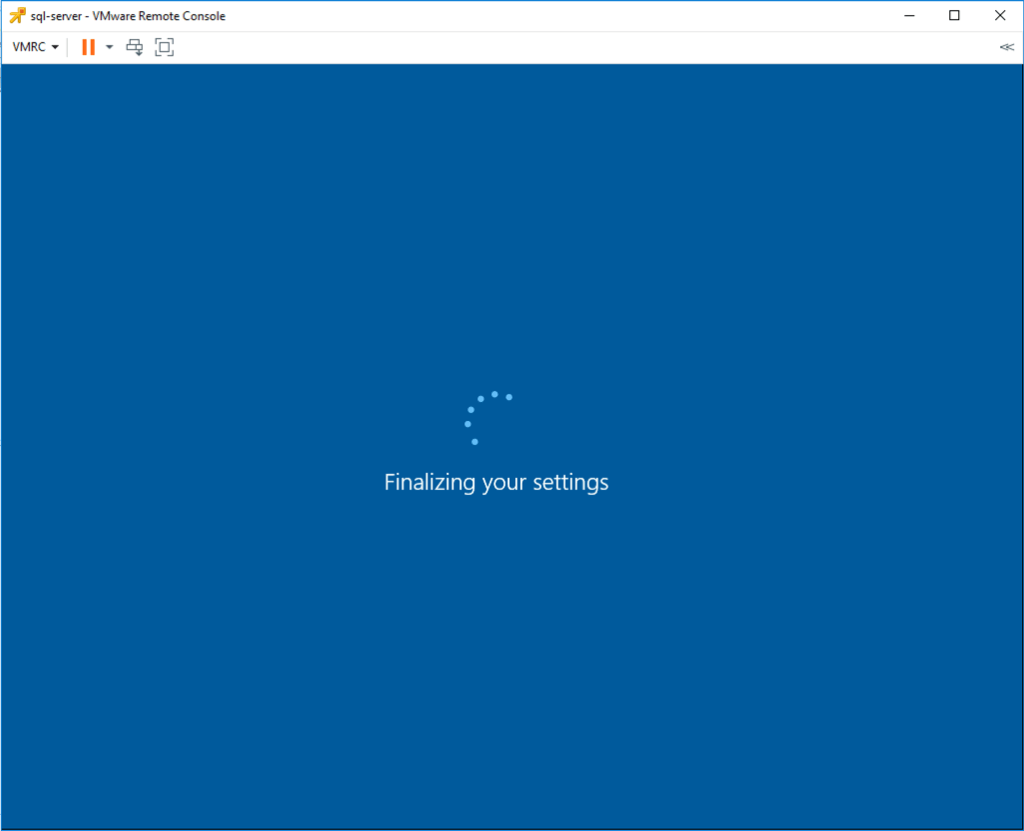
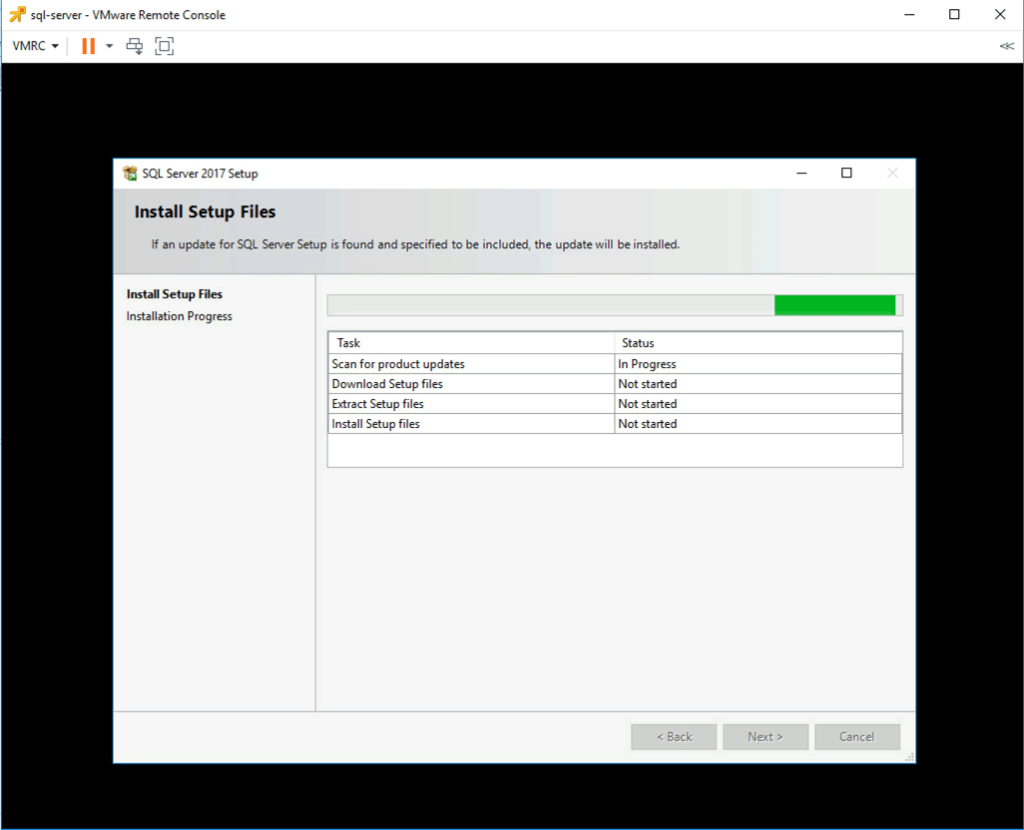
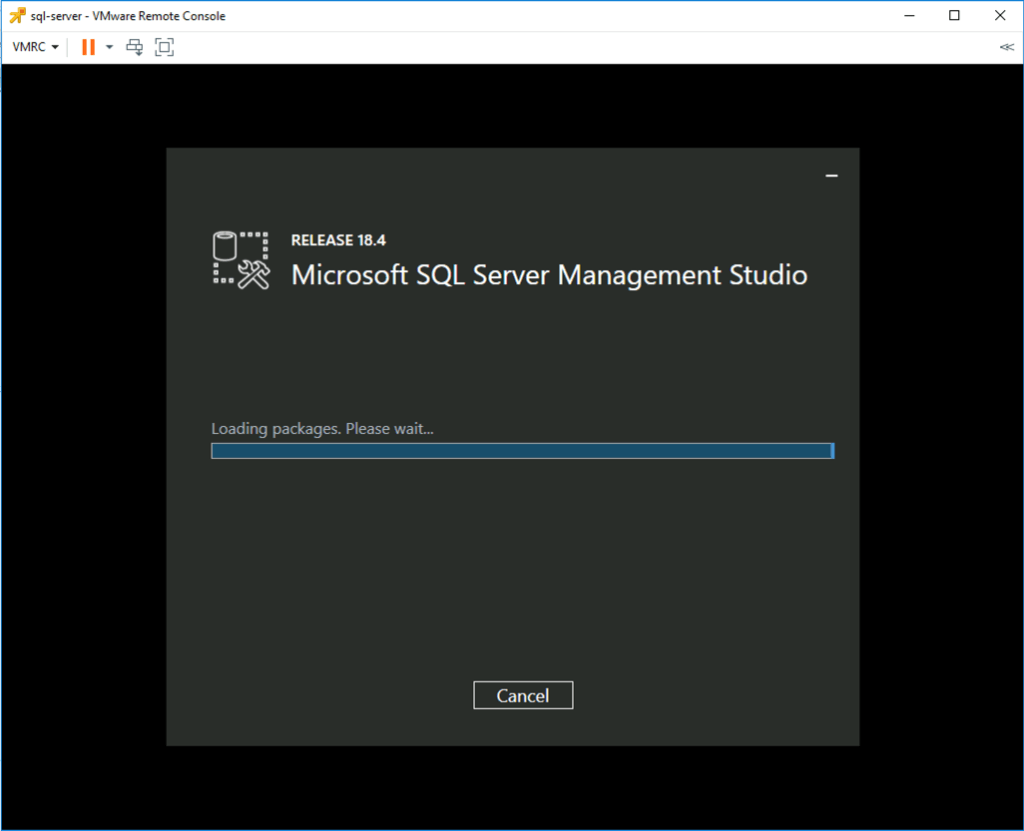
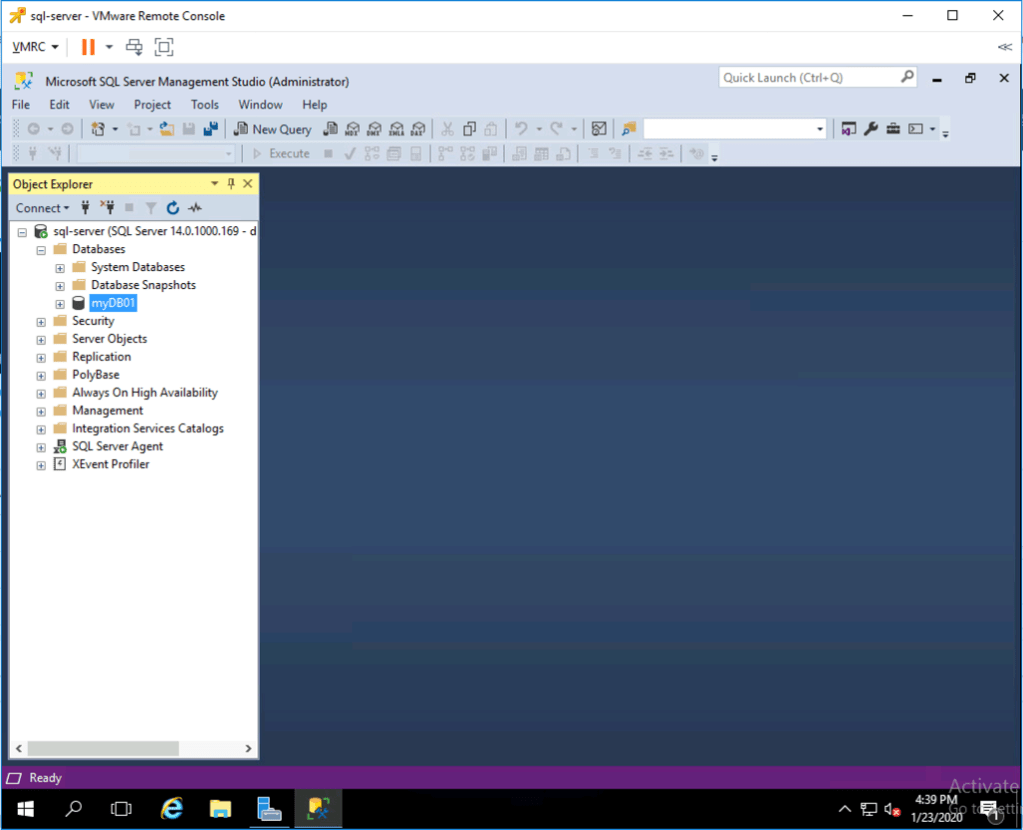
Pretty Pictures
Just a few screenshots of the build process in action

Eh voila! Give it a go in your lab. Hope it saves you some time.
Posts in this Series
- Part 1: Overview
- Part 2: Reading JSON
- Part 3: Creating a Single Binaries ISO
- Part 4: Understanding the autoUnattend.xml
- Part 5: Creating a Configure-Host.ps1 and Building the Answerfiles ISO for SQL Server
- Part 6: Creating the VM
- Part 7: Creating a New Active Directory Forest
- Part 8: Adding a Domain Controller to an Existing Domain
- Part 9: Adding a New Child Domain to an Existing Active Directory Forest

Leave a comment