
I love Raspberry Pi(s). I have them hanging around all over the place at home doing this and that. Even the kids have them for playing with Scratch and Minecraft. I also love home media stuff and have several machines (not necessarily Pis) doing different jobs around the house. Such as:
- MySQL Server hosting a shared database for multiple Kodi clients
- Logitech Media Server (LMS) as a DNLA server for music
- Emby Media Server (I like it for metadata scrapping)
- Pi-Hole for Ad Blocking
So I thought it would be a bit of fun to squeeze all of the above onto a Raspberry Pi using Docker containers. I created some dummy movie and music media out on my NAS box, so I want to reference the data on that (so that all my Kodi clients can use shared storage), and I also want to store some of the docker container data out there too. You might find it interesting. I did
Preparation
Some details to grab before you start
| Parameter Key | Notes | Example |
| [network-gateway] | 192.168.15.1 | |
| [network-prefix-length] | 24 | |
| [network-dns-server] | 192.168.15.1 | |
| [pi-static-ip] | IP address you will assign to Pi | 192.168.15.35 |
| [nas-static-ip] | IP address already assigned to NAS | 192.168.15.9 |
I didn’t ‘paramaterize’ the default usernames and passwords….feel free to swap them out
Image your Pi
- Download Raspbian
- Raspbian Stretch Lite is enough….no need for a desktop interface for this project
- Image your SD Card
- I’m on a mac, so I use Etcher (now known as balenaEtcher)
- Pop in your SD Card
- Open balenaEtcher -> Select Image (choose Raspbian download) -> Flash
- Remount the SD card on the Mac and open a Terminal window
- sudo touch /Volumes/boot/SSH
- Insert the Micro SD into the Pi and boot.
- Note the IP address assigned to system via DHCP.
Some Basic Infrastructure Setup
Now that you have the Pi on the network, you can do the rest via SSH (makes copying and pasting these commands really easy)
Configure Static IP
- SSH into Pi on DHCP assigned IP
- User: pi
- Password: raspberry
- vi /etc/dhcpcd.conf
- uncomment and configure eth0
- # Example static IP configuration:
- interface eth0
- static ip_address=[pi-static-ip]/[network-prefix-length]
- static routers=[network-gateway]
- static domain_name_servers=[network-dns-server]
- Save
- sudo reboot
Mount CIFS
Here I am creating three mount points and mounting three NAS shares – add/remove/adjust as appropriate
- SSH into Pi on Static IP
- sudo apt-get update
- sudo apt-get install cifs-utils
- sudo mkdir -p /mount/media/
- sudo mkdir -p /mount/infrastructure/
- sudo vi /etc/fstab
- Add (replace mount points and folder as appropriate)
- //[nas-static-ip]/media /mount/media cifs guest,uid=1000,iocharset=utf8,file_mode=0777,dir_mode=0777 0 0
- //[nas-static-ip]/infrastructure /mount/infrastructure cifs guest,uid=1000,iocharset=utf8,file_mode=0777,dir_mode=0777 0 0
- //[nas-static-ip]/music /mount/music cifs guest,uid=1000,iocharset=utf8,file_mode=0777,dir_mode=0777 0 0
- sudo mount -a
- df -k
- You should see your shares mounted (in my case three)

Installing Docker
- sudo apt-get update
- sudo apt-get install -y apt-transport-https ca-certificates wget software-properties-common
- wget https://download.docker.com/linux/debian/gpg
- sudo apt-key add gpg
- echo “deb [arch=armhf] https://download.docker.com/linux/debian $(lsb_release -cs) stable” | sudo tee -a /etc/apt/sources.list.d/docker.list
- sudo apt-get update
- sudo apt-cache policy docker-ce
- sudo apt-get -y install docker-ce
- sudo systemctl start docker
- sudo systemctl enable docker
- sudo usermod -aG docker $USER
- sudo reboot
The last two commands enable non sudo docker commands for current user
Install Portainer
If you’ve not used it, try it. It’s a really cool management UI interface for docker. Allows you to edit/manipulate containers/images as well as view logs and access the console of containers, on both local and remote docker hosts! By default it uses port 9000, which is also used by LMS (and which I install later) so I’m mapping port 8000 on the host to port 9000 inside the container
- docker pull portainer/portainer
- docker run -d -p 8000:9000 –restart always –name portainer -v /opt/portainer-data:/data -v /var/run/docker.sock:/var/run/docker.sock portainer/portainer
- Browse to: http://[pi-static-ip]:8000
- Set admin password -> Create User -> Choose Local (Manage the Local Docker Environment) -> Connect
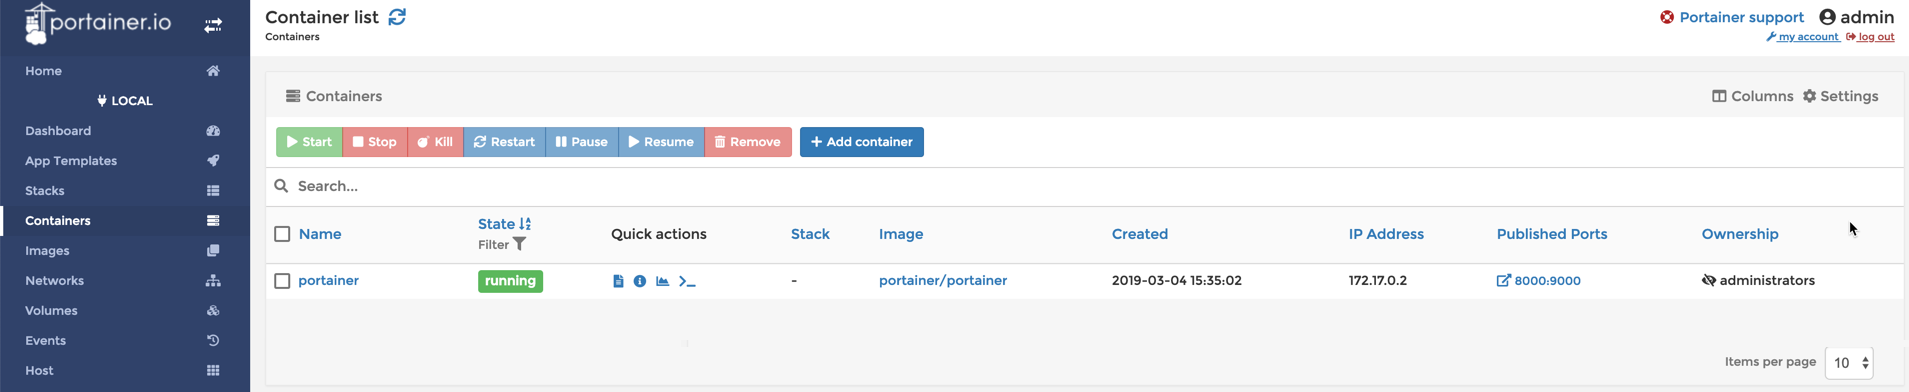
Portainer is your first docker container!
Install MySQL Server
- docker pull hypriot/rpi-mysql:latest
- docker run –name mysql-server –restart always –network=”host” –publish 3306:3306 –env “MYSQL_ROOT_PASSWORD=raspberry” –env “MYSQL_USER=pi” –env “MYSQL_PASSWORD=raspberry” –detach –volume=/mount/infrastructure/docker_data/mysql_data:/var/lib/mysql hypriot/rpi-mysql
Note that the publish command isn’t necessary when using the host network and not altering the port mapping, but I tend to leave them in the breadcrumb command in case I’m doing an install where I’m not using the host network
- docker exec -i -t mysql-server /bin/bash
- sudo apt-get update
- sudo apt-get install vim
- sudo vim /etc/mysql/my.cnf
- add the following to [mysqld] section
- skip-name-resolve
- Save and exit vim
- mysql -u root -p
- create user ‘kodi’ identified by ‘kodi’;
- GRANT ALL ON . TO ‘kodi’;
- FLUSH PRIVILEGES;
- \q
- sudo vi /etc/mysql/debian.cnf
- set password in [client] section to ‘raspberry’
- optionally in [mysql_upgrade] section too
- Save and exit vim
- service mysql restart
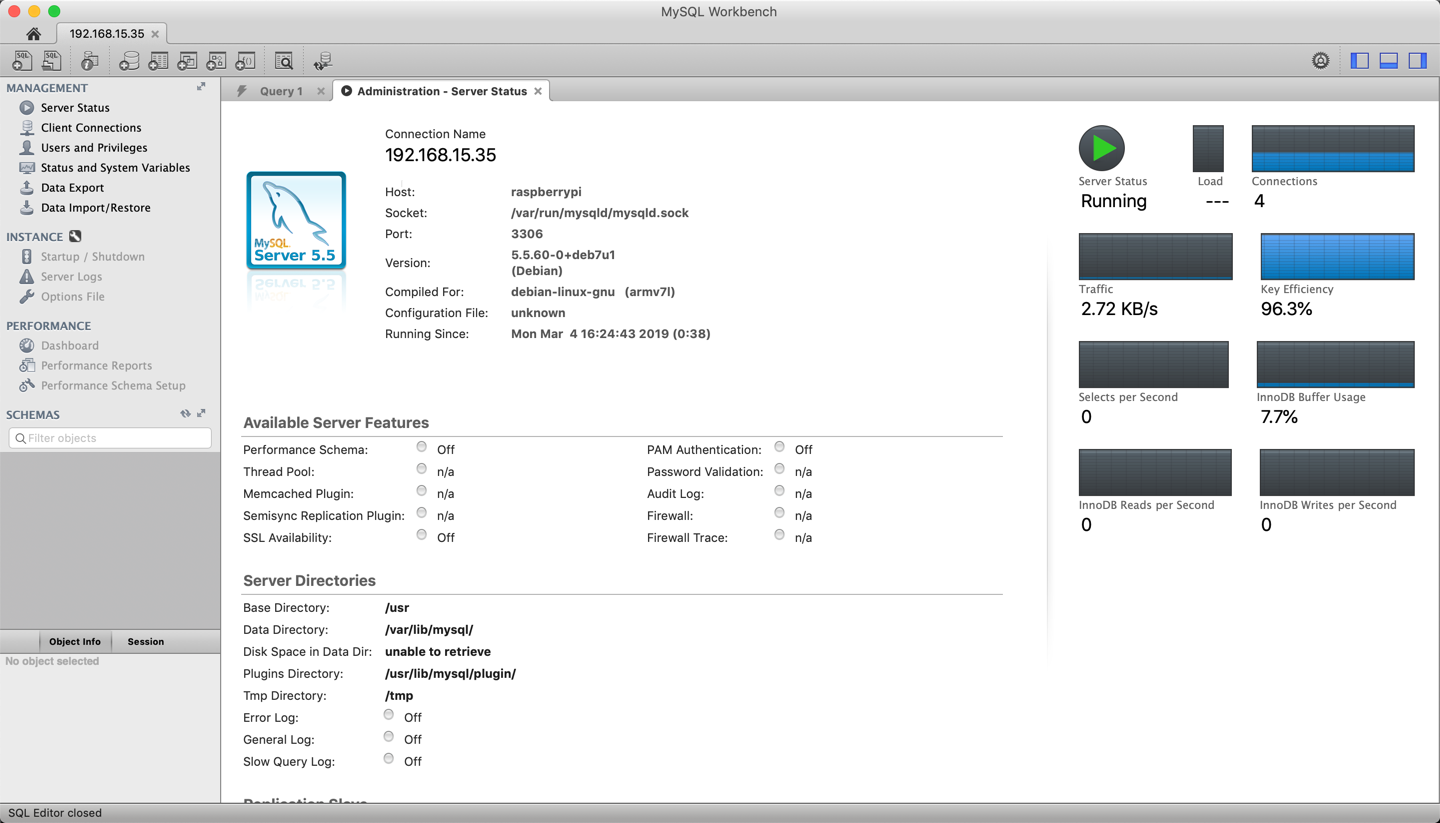
You should now have a MySQL server ready for Kodi. You can try accessing it via a MySQL client. Here it is via MySQLWorkbench. No databases/schemas are present. They’ll be created later by the first Kodi client to hit the server.
Kodi Client Setup
I’m going to go a wee bit off the docker topic here and show you how to get the shared database populated and accessible. It’s unabashedly cool if you like your home media. You might have a client already, but if you want a quick and easy test client you can grab a LibreELEC OVA for use in Fusion/Workstation etc
Deploy LibreELEC OVA
- Pick a LibreELEC mirror, and browse to its public folder
- Grab an 8.2.x image (for Kodi 17) or 9.0.x ova (For Kodi 18)
- e.g. LibreELEC-Generic.x86_64-8.2.5.ova
- Deploy in Fusion etc and power on
- Enable SSH during wizard
- Get IP from System Information
- SSH into Kodi Client IP
- User: root
- Password: libreelec
- cd ~/.kodi/userdata
- vi advancedsettings.xml
- Paste following into editor replacing [pi-static-ip] and [nas-static-ip] with relevant address
<advancedsettings>
<videodatabase>
    <type>mysql</type>
    <host>[pi-static-ip]</host>
    <port>3306</port>
    <user>kodi</user>
    <pass>kodi</pass>
</videodatabase>
<musicdatabase>
    <type>mysql</type>
    <host>[pi-static-ip]</host>
    <port>3306</port>
    <user>kodi</user>
    <pass>kodi</pass>
</musicdatabase>
<videolibrary>
    <hideallitems>true</hideallitems>
</videolibrary>
<musiclibrary>
    <hideallitems>true</hideallitems>
</musiclibrary>
<cleanonupdate>true</cleanonupdate>
<pathsubstitution>
  <substitute>
    <from>special://profile/Thumbnails/</from>
    <to>smb://[nas-static-ip]/Infrastructure/kodi_thumbnails/</to>
  </substitute>
</pathsubstitution>
</advancedsettings>
The path substitution bit is optional but if you do this then thumbnail generation is done only once and all Kodi clients can reference it rather than having to do their own thumbnail generation
- Configure the sources.xml. Here’s a sample. Replace [nas-static-ip] as appropriate
<sources>
    <programs>
        <default pathversion="1"></default>
    </programs>
    <video>
        <default pathversion="1"></default>
        <source>
            <name>Superhero Movies</name>
            <path pathversion="1">smb://[nas-static-ip]/Media/Superhero Movies/</path>
            <allowsharing>true</allowsharing>
        </source>
    </video>
    <music>
        <default pathversion="1"></default>
    </music>
    <pictures>
        <default pathversion="1"></default>
    </pictures>
    <files>
        <default pathversion="1"></default>
    </files>
</sources>- Reboot the client
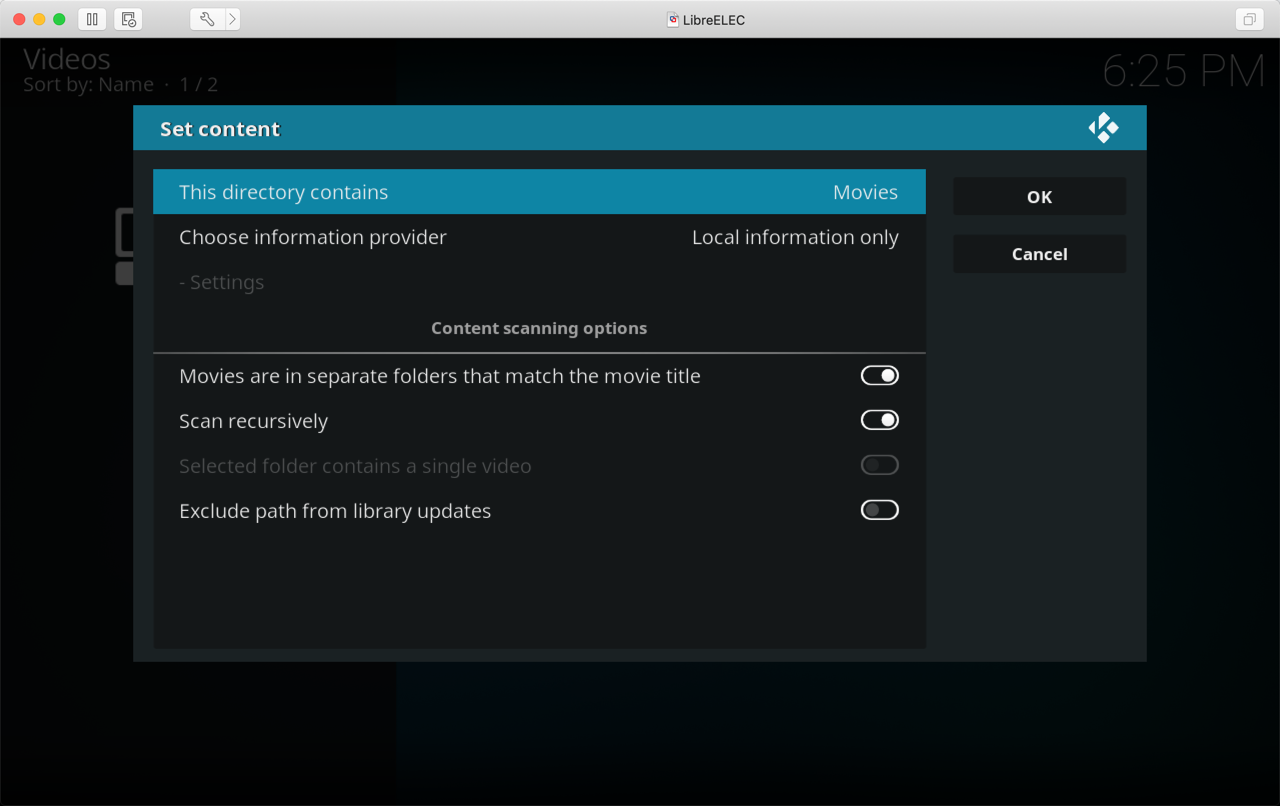
- Set the content type of the source in Kodi
- Settings -> Media Settings -> Library -> Videos -> Highlight Source -> C -> Set Content
- Accept and Refresh the source when prompted
In my case the metadata for the content is stored with the media. Its most efficient if you have multiple clients. If you want this client to do the scraping then select the appropriate Information Provider but make sure your other clients dont do it too. With a shared database only one client needs to scrape or populate new items into the database.
Once the scan is complete, you should see databases (schemas) on your MySQL server

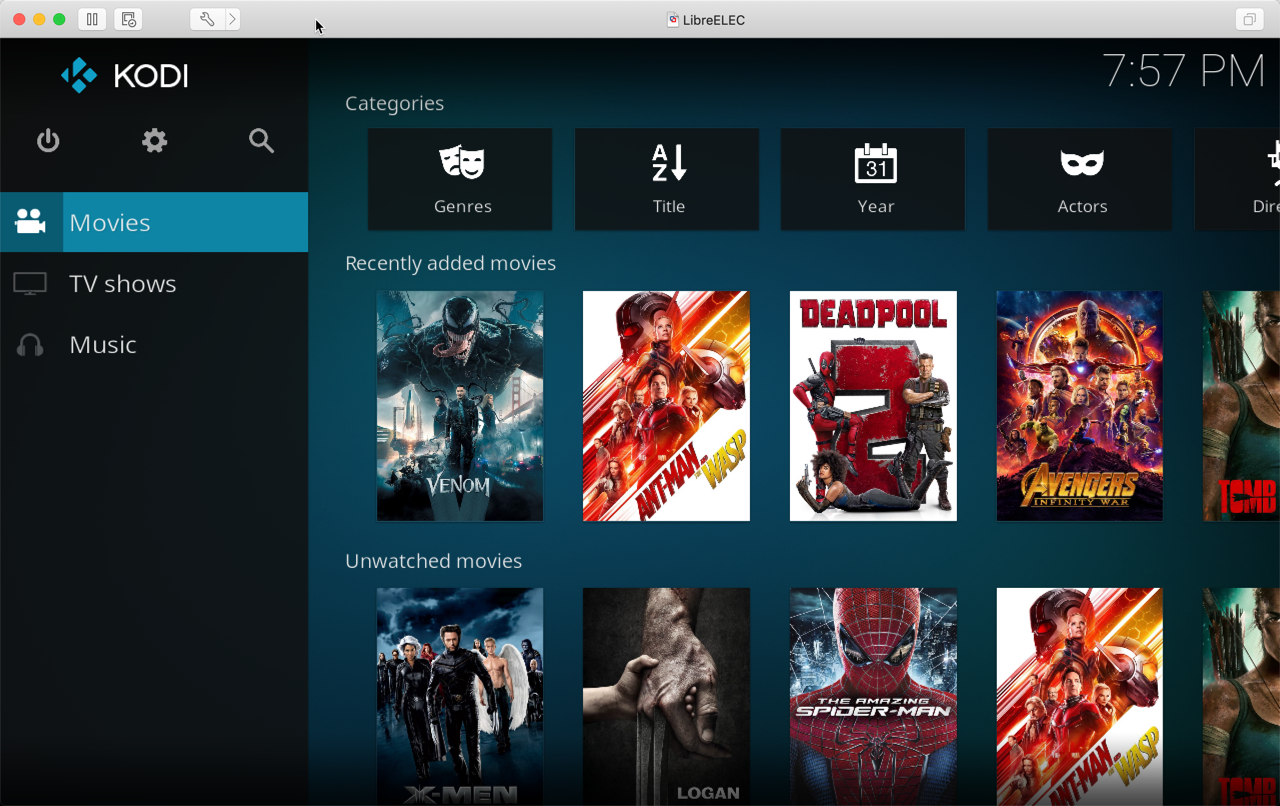
You should also now see media in your Kodi Client. I’m a Superhero fan so I mocked up some dummy movies by touching some filenames, but presumably you will have the real thing.
Copy the sources.xml and advancedsettings.xml and store them somewhere for use on further clients. You wont need to set the source type on those clients….that’ll be stored in the database. Makes setting up new clients a breeze – you simply install kodi, drop in the two files and reboot. You’ll now have ‘pause in one place, resume in another’ functionality as well as shared watched status on all clients.
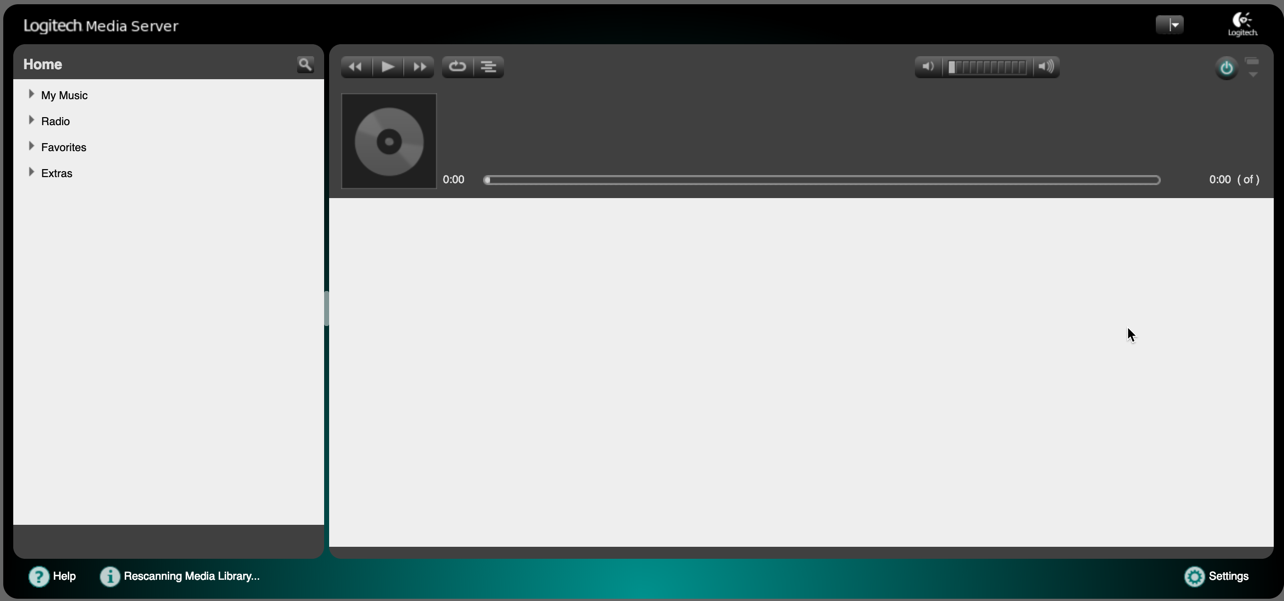
Installing Logitech Media Server (LMS)
Same as before wrt publishing the ports using host network
- docker pull guewen/logitech-media-server-raspbian
- docker run –name lms-server –restart always –network=”host” -d –init -p 9000:9000 -p 9090:9090 -p 3483:3483 -p 3483:3483/udp -v /storage/docker/lms:/srv/squeezebox -v /mount/music:/srv/music guewen/logitech-media-server-raspbian
- Browse to LMS interface on http://[pi-static-ip]:9000 and create and LMS account if you dont have one already
Installing Pi-Hole
You guessed it. Ports are optional.
- docker pull pihole/pihole
- docker run –name pihole-server –restart always –network=”host” -d –init -p 53:53/tcp -p 53:53/udp -p 80:80 -v /mount/infrastructure/pihole_data/pihole/:/etc/pihole/ -v /mount/infrastructure/pihole_data/dnsmasq.d/:/etc/dnsmasq.d/ -e ServerIP=[pi-static-ip] -e DNS1=[network-dns-server] pihole/pihole
- Browse to pi-hole interface on port http://[pi-static-ip]/admin

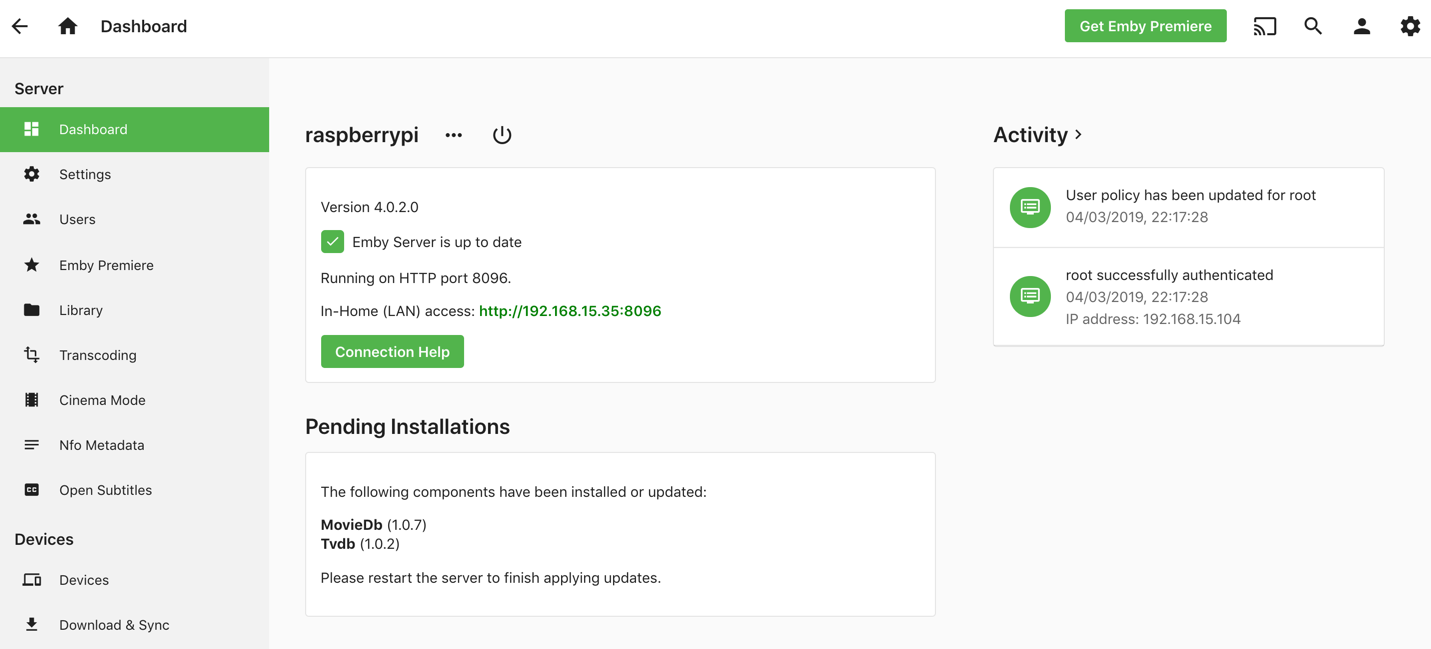
Install Emby
Change the UID and GID if you are not using root to run Emby.
- docker pull emby/embyserver_arm32v7
- docker run -d –name emby-server –restart always –network=”host” –volume /emby:/config –volume /mount/media:/mnt/share1 –env UID=0 –env GID=0 emby/embyserver_arm32v7:latest
- Browse to Emby interface on http://[pi-static-ip]:8096 and step through the wizard
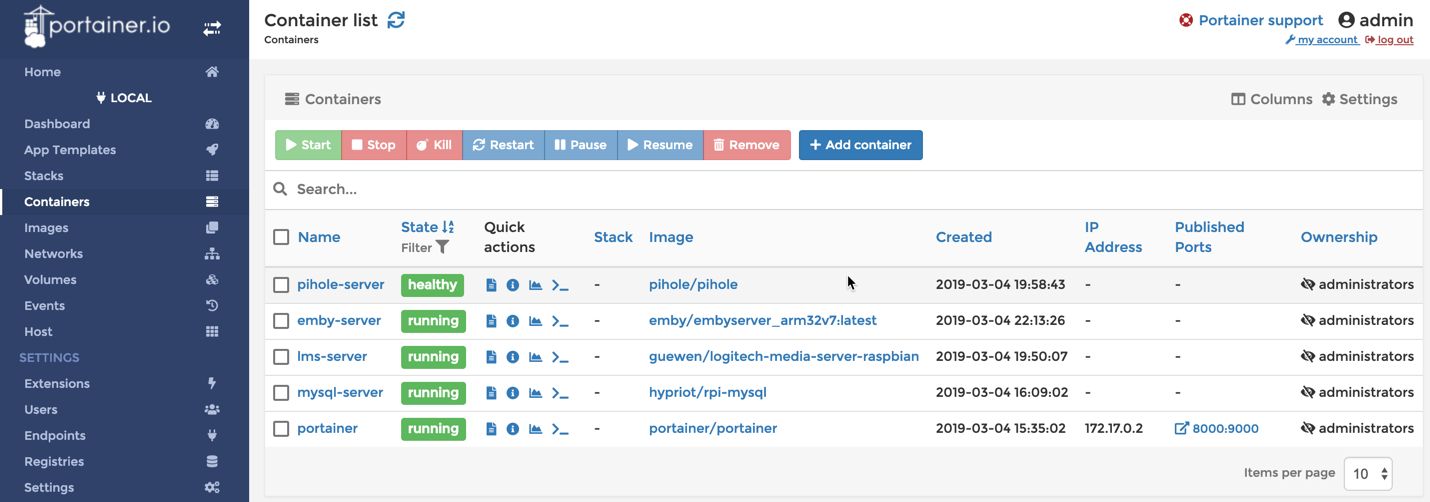
Summary
Look at how much cool stuff we wedged onto the Pi! Hope you enjoyed the post.